
Yes, do targeted pre-listing repairs: fix the cheap, visible issues first, order a pre-listing inspection to catch mechanical or safety problems before a buyer’s inspector does, and skip expensive full renovations unless your local market and expected return clearly justify them. Our three priorities are simple: cosmetic fixes and cleaning, safety and system repairs flagged by inspection, and documentation of every permit and receipt. Give yourself four to eight weeks to do it properly.
TL;DR:
- A prelisting inspection typically costs a few hundred dollars and takes two to four hours, giving you time to fix, disclose, or price around findings.
- A CREA survey found 81% of Canadian agents recommended professional cleaning and 74% favored updated light fixtures, supporting these visible fixes over costly remodeling.
- In fast moving markets, complete inexpensive fixes and disclose moderate cost problems; slower markets may justify addressing one after comparing local buyer competition.
- Before structural or electrical work, confirm permit rules with your municipality; keep contracts, receipts, permits, and warranties because buyers’ lawyers may request records.
- Set aside roughly 1% to 3% of your expected sale price for cosmetic preparation, and seek trade quotes early during busy spring and summer months.
What a pre-listing inspection reveals and why it matters
A pre-listing inspection is one you order and pay for before your home goes on the market, rather than waiting for a buyer’s inspector to find problems during the offer stage. The scope is the same either way: roof condition, foundation, electrical panel and wiring, plumbing, heating and cooling systems, and major appliances get checked room by room.
What changes is who controls the outcome. With a buyer’s inspection, you learn about a cracked furnace heat exchanger or knob-and-tube wiring at the worst possible moment, mid-negotiation, with a deal on the line. With a pre-listing inspection, you see the report weeks before your first showing and get to choose your response calmly.
Once you have the findings, you have three honest options:
- Fix it when the cost is reasonable and the issue would scare off buyers or trigger a lowball offer.
- Disclose it with documentation when it’s a known, manageable issue you’re pricing the home to reflect.
- Price around it when fixing isn’t practical before listing but the issue is minor enough that buyers can factor it into their offer.
A pre-listing home inspection typically runs a few hundred dollars and takes two to four hours to complete, depending on the size and age of the home. Many Realtors now recommend scheduling one early, partly because a CREA survey of Canadian agents found that inspection-driven repair priorities, not guesswork, shape what sellers are told to fix first.
The three-bucket test for deciding what to repair
Every item your inspection turns up, or that you notice walking through your own home, fits into one of three buckets. Sorting them this way keeps you from either ignoring real problems or wasting money on cosmetic perfection buyers won’t pay extra for.
- Fix now: cheap, visible, safety or functionality issues such as burnt-out bulbs, gaps in caulking, doors that stick, or small drywall patches. These cost little and remove the “neglected” impression that makes buyers negotiate harder on everything else.
- Disclose or price: mid-cost structural or system items you can’t finish before listing, like an aging roof with a few years left or a furnace nearing the end of its service life. Get a written estimate, attach it to your disclosure, and let your listing price reflect the remaining cost.
- Leave it: high-cost, style-driven changes that rarely pay off in the short window before a sale, such as a full kitchen gut or a whole-home remodel. These are personal investments for an owner who plans to live with the result, not a seller trying to close in weeks.
How you weigh these buckets depends on how fast homes are moving in your area. In a quick-turnover market, Bucket 1 fixes plus honest disclosure on Bucket 2 items are often enough. In a slower market where buyers have more homes to compare, a stronger case for addressing at least one Bucket 2 item can matter more.
Pro Tip: Walk your home with a notepad as if you were a buyer seeing it for the first time, and you’ll find half of your Bucket 1 list in twenty minutes.
The repairs most likely to move your sale price
Start with the cheapest, most visible work: deep cleaning, decluttering, a fresh coat of neutral paint, and updated light fixtures. None of this is glamorous, but it’s what Realtors tell sellers to prioritize most often, and for good reason.
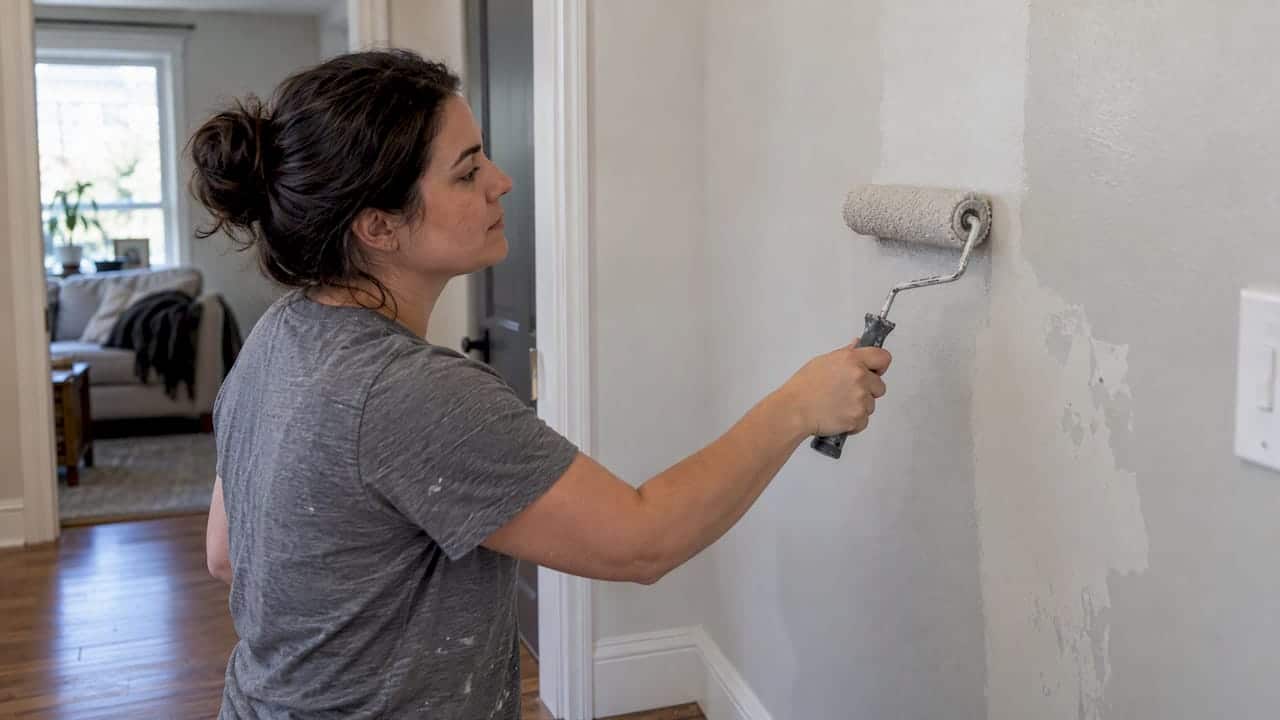
In a CREA survey of Canadian REALTORS®, 81% recommended professional cleaning and 74% recommended updating light fixtures as top pre-listing priorities. Buyers notice a clean, bright home before they notice anything else, and both fixes cost a fraction of what structural work runs.
Curb appeal deserves the same attention, especially the deck.
Kitchens and bathrooms split sellers into two camps: those who need a full renovation and those who need a weekend of small updates. Match the scope to what your specific home needs, not to what a renovation show suggests.
Flooring needs similar consideration.
Mechanical systems, your furnace or heat pump, roof, and electrical panel, deserve different treatment entirely. These aren’t style choices: a failing system is a deal risk that can derail financing or appraisal, and any work here may require a permit. Budget accordingly.
- Low cost: cleaning, paint, caulking, light fixtures, minor landscaping.
- Medium cost: flooring refinishing, deck repairs, cabinet refreshes, minor bathroom updates.
- High cost: roof replacement, furnace or heat pump replacement, electrical panel upgrades, full kitchen renovations.
Renovation costs have also been climbing. Statistics Canada’s Residential Renovation Price Index rose 0.9% in the second quarter of 2025, with tariffs and material-price volatility pushing up costs specifically for metal- and appliance-heavy projects like HVAC and kitchen work. That’s one more reason to lean toward Bucket 1 fixes when a project isn’t essential to closing the sale.
Permits, paperwork, and hiring contractors you can trust
Before any contractor touches a wall, wire, or roofline, check with your municipal building department to confirm whether the work needs a permit. Skipping this step doesn’t just risk a fine. Government guidance on home renovations warns that unauthorized work can cause insurance complications and create problems when you try to sell, since buyers’ lawyers routinely ask for permit records on any structural or electrical change.
Paying a contractor “under the table” to save on tax carries its own risk: without a receipt or contract, you have no recourse if the work fails, and no proof for a future buyer that it was done to code. A written contract protects you either way.
Before hiring anyone:
- Get two to three written quotes so you can compare scope, not just price.
- Confirm proof of insurance and, for Ontario trades, WSIB coverage.
- Insist on a written contract covering scope, timeline, payment schedule, and warranty.
- Ask for a GST/HST number where applicable, and keep every receipt and permit for your closing file.
Pro Tip: Keep a single folder, digital or paper, with every permit, receipt, and warranty from your pre-listing work; your Realtor and the buyer’s lawyer will both ask for it.
What rising renovation costs mean for your timeline
Material costs have been uneven across the country, and that affects both your budget and how long work takes to schedule. The Statistics Canada RRPI for Q2 2025 showed a 0.9% national increase, driven partly by tariffs on steel, aluminum, and iron that pushed up costs for appliances, HVAC equipment, and decking hardware. Toronto saw a smaller cost increase in that same quarter than some Prairie and Quebec markets, which is one more reason to get local quotes rather than rely on national averages.
Seasonality compounds this. Spring and early summer are peak renovation months, which means longer waits for contractor availability and permit processing right when most sellers want to list. If you’re planning any Bucket 2 work, start calling trades well before your target listing date, and build in a contingency of extra time and budget for whatever the first quote doesn’t cover. Getting two or three bids isn’t just about price. It also tells you whether a quoted timeline is realistic.
A five-step plan for the eight weeks before you list
- Weeks 1 to 2: Order your pre-listing inspection, and start deep cleaning and decluttering so your home is photo-ready early.
- Weeks 2 to 4: Sort inspection findings into the three buckets, and request two to three quotes for anything that needs a trade.
- Weeks 4 to 6: Complete Bucket 1 fixes yourself or with a handyperson, and pull any permits required for Bucket 2 work.
- Weeks 6 to 8: Finish staging and final touch-ups, and compile your documentation folder for disclosure.
- Throughout: Allocate roughly 1% to 3% of your expected sale price to cosmetic prep, reserve more only for disclosed system repairs, and loop in your Realtor as soon as inspection results come back so pricing and marketing stay aligned with what buyers will see.
A home staging guide and a few listing photography tips can help you get the most out of weeks six through eight once the repair work is done.
What I tell my clients about repairs that actually pay off
What I tell my clients is that the fix that gets you the best offer is rarely the one that costs the most. I’ve watched a $400 deck repair and a weekend of decluttering outsell a half-finished kitchen renovation, because buyers react to what they can see and trust, not to how much money went into a wall they can’t evaluate.
What most sellers don’t realize is that documentation closes deals as much as the repair itself does. A buyer’s lawyer who sees permits and receipts moves faster than one chasing down verbal promises. We coordinate inspectors, trades, and stagers for our clients so the paperwork and the punch list stay organized from week one, not patched together the night before a showing. If you want a second set of eyes on your repair priorities before you list, I am glad to walk the house with you.
The repair advice most sellers get wrong
Most advice on this topic treats every repair as equally urgent, and that’s where sellers waste money. The honest prioritization isn’t “fix everything an inspector flags.” It’s recognizing that a buyer’s gut reaction to a clean, bright, well-maintained home does more work than a renovated kitchen they’ll gut anyway to match their own taste.

The bigger mistake I see is sellers treating disclosure as a weakness instead of a tool. A documented, priced-in issue rarely kills a deal. A surprise one almost always slows it down or reopens negotiations. Pre-listing inspections exist precisely to move problems from the surprise column into the disclosed column, and that shift alone often matters more than any single repair.
If you take one thing from this, let it be sequencing: clean and declutter before you spend a dollar on anything else, let the inspection tell you what’s actually urgent, and reserve real renovation budget only for the handful of items that would otherwise cost you the sale. Everything else is cosmetic polish, useful, but not where the leverage is.
— Felix
How our team helps you prepare, document, and list with confidence
Selling a home comes with more moving pieces than most people expect, and we built our process around taking that load off your plate. One point of contact manages the inspection, the contractor conversations, the staging plan, and the documentation your buyer’s lawyer will eventually ask for, which cuts down on both stress and the risk of something slipping through.
I offer sellers:
- Coordination of your pre-listing inspection and a clear read on what it means for your sale.
- Introductions to contractors and trades for anything that lands in Bucket 1 or Bucket 2.
- Staging advice tailored to how buyers actually move through your specific home.
- A listing strategy that prices and markets around what your repairs and disclosures actually show.
If you’re preparing to sell in Toronto, Innisfil, or Friday Harbour, our tailored real estate solutions start with a conversation about what your home needs and what it doesn’t. Reach out and we’ll walk through your prep list together.
FAQ
What is the biggest red flag in a home inspection?
Safety and structural issues carry the most weight, things like roof damage, foundation cracks, outdated electrical wiring, or a failing furnace or heat pump. These items affect financing, insurability, and a buyer’s confidence far more than cosmetic wear, which is why they belong in Bucket 2 or require a fix before listing.
What does prelisting mean?
Prelisting refers to the steps a seller takes before putting a home on the market, most importantly ordering an inspection, completing repairs, and preparing documentation ahead of the first showing. The goal is to control what buyers learn and when, rather than reacting to surprises during negotiations.
What is the average cost of a home inspection in Ontario?
A standard pre-listing or buyer’s home inspection in Ontario typically costs a few hundred dollars and takes two to four hours, depending on the home’s size and age. Exact pricing varies by inspector and property, so it’s worth getting a quote specific to your home.
What renovations are worth doing before selling?
Low-cost, high-visibility work tends to pay off fastest: deep cleaning, decluttering, fresh paint, and updated light fixtures, which agents in a CREA survey ranked among top seller priorities. Deck repairs and minor kitchen or flooring refreshes often make sense too, while full renovations rarely recoup their cost on a tight timeline.
Should I fix my house before selling if the repairs are expensive?
Only when the issue is a safety or system failure that would scare off buyers or affect financing, such as a roof or furnace nearing failure. For expensive, style-driven projects like a full kitchen remodel, disclosing the condition and pricing accordingly is often the more practical route.
Sources
- CREA Café — Survey: What should your sellers do to get ready to list?
- Statistics Canada — Residential Renovation Price Index, second quarter 2025
- Innovation, Science and Economic Development Canada — Home renovations: protect yourself